Showing posts with label Cards. Show all posts

Tuesday, August 29, 2023

God's Masterpiece

 I entered this in the Word Art Wednesday challenge. I love the messages both on the front and inside. The front stamp is one stamp, then I re-stamped it on coral, yellow, green, and blue card stock and cut out each letter to add to the black and white stamp. That added a bit of dimension. I also added some neon colors to each letter with the corresponding neon pen.


Friday, July 7, 2023

Fourth flowers

 I was challenged at Sweet 'n Sassy stamps to make a card using at least one of their products and a red, white, and blue theme. This is what I came up with.

I made the background from strips of card stock, then colored the flowers, die cut them, and arranged them on the front. I used a sentiment from another Sweet 'n Sassy set for the front sentiment.

On the inside,


I stamped one of the flower images then heat embossed the sentiment from yet another Sweet 'n Sassy stamp set on top of it. Finally, I outlined the flower image to add some extra color to the inside.

All in all, I was pleased with the outcome.

I also posted this on the Word Art Wednesday page for the Anything Goes challenge.


Thursday, April 20, 2023

Spring Fling Experiment

 I have been following Kristie Marcotte for some time on her blog The Best Things in Life are Pink. What fascinates me most about her work is the many times she takes a pad of 6 x 6 paper and shows how many cards she has made from that one pad. I have always wondered how many cards I could come up with using that same principle.

When I purchased several pads of pretty paper from Honey Bee Stamps a couple of months ago, I decided I should try my hand at Kristie's process. I chose the Spring Fling paper pad as my trial.

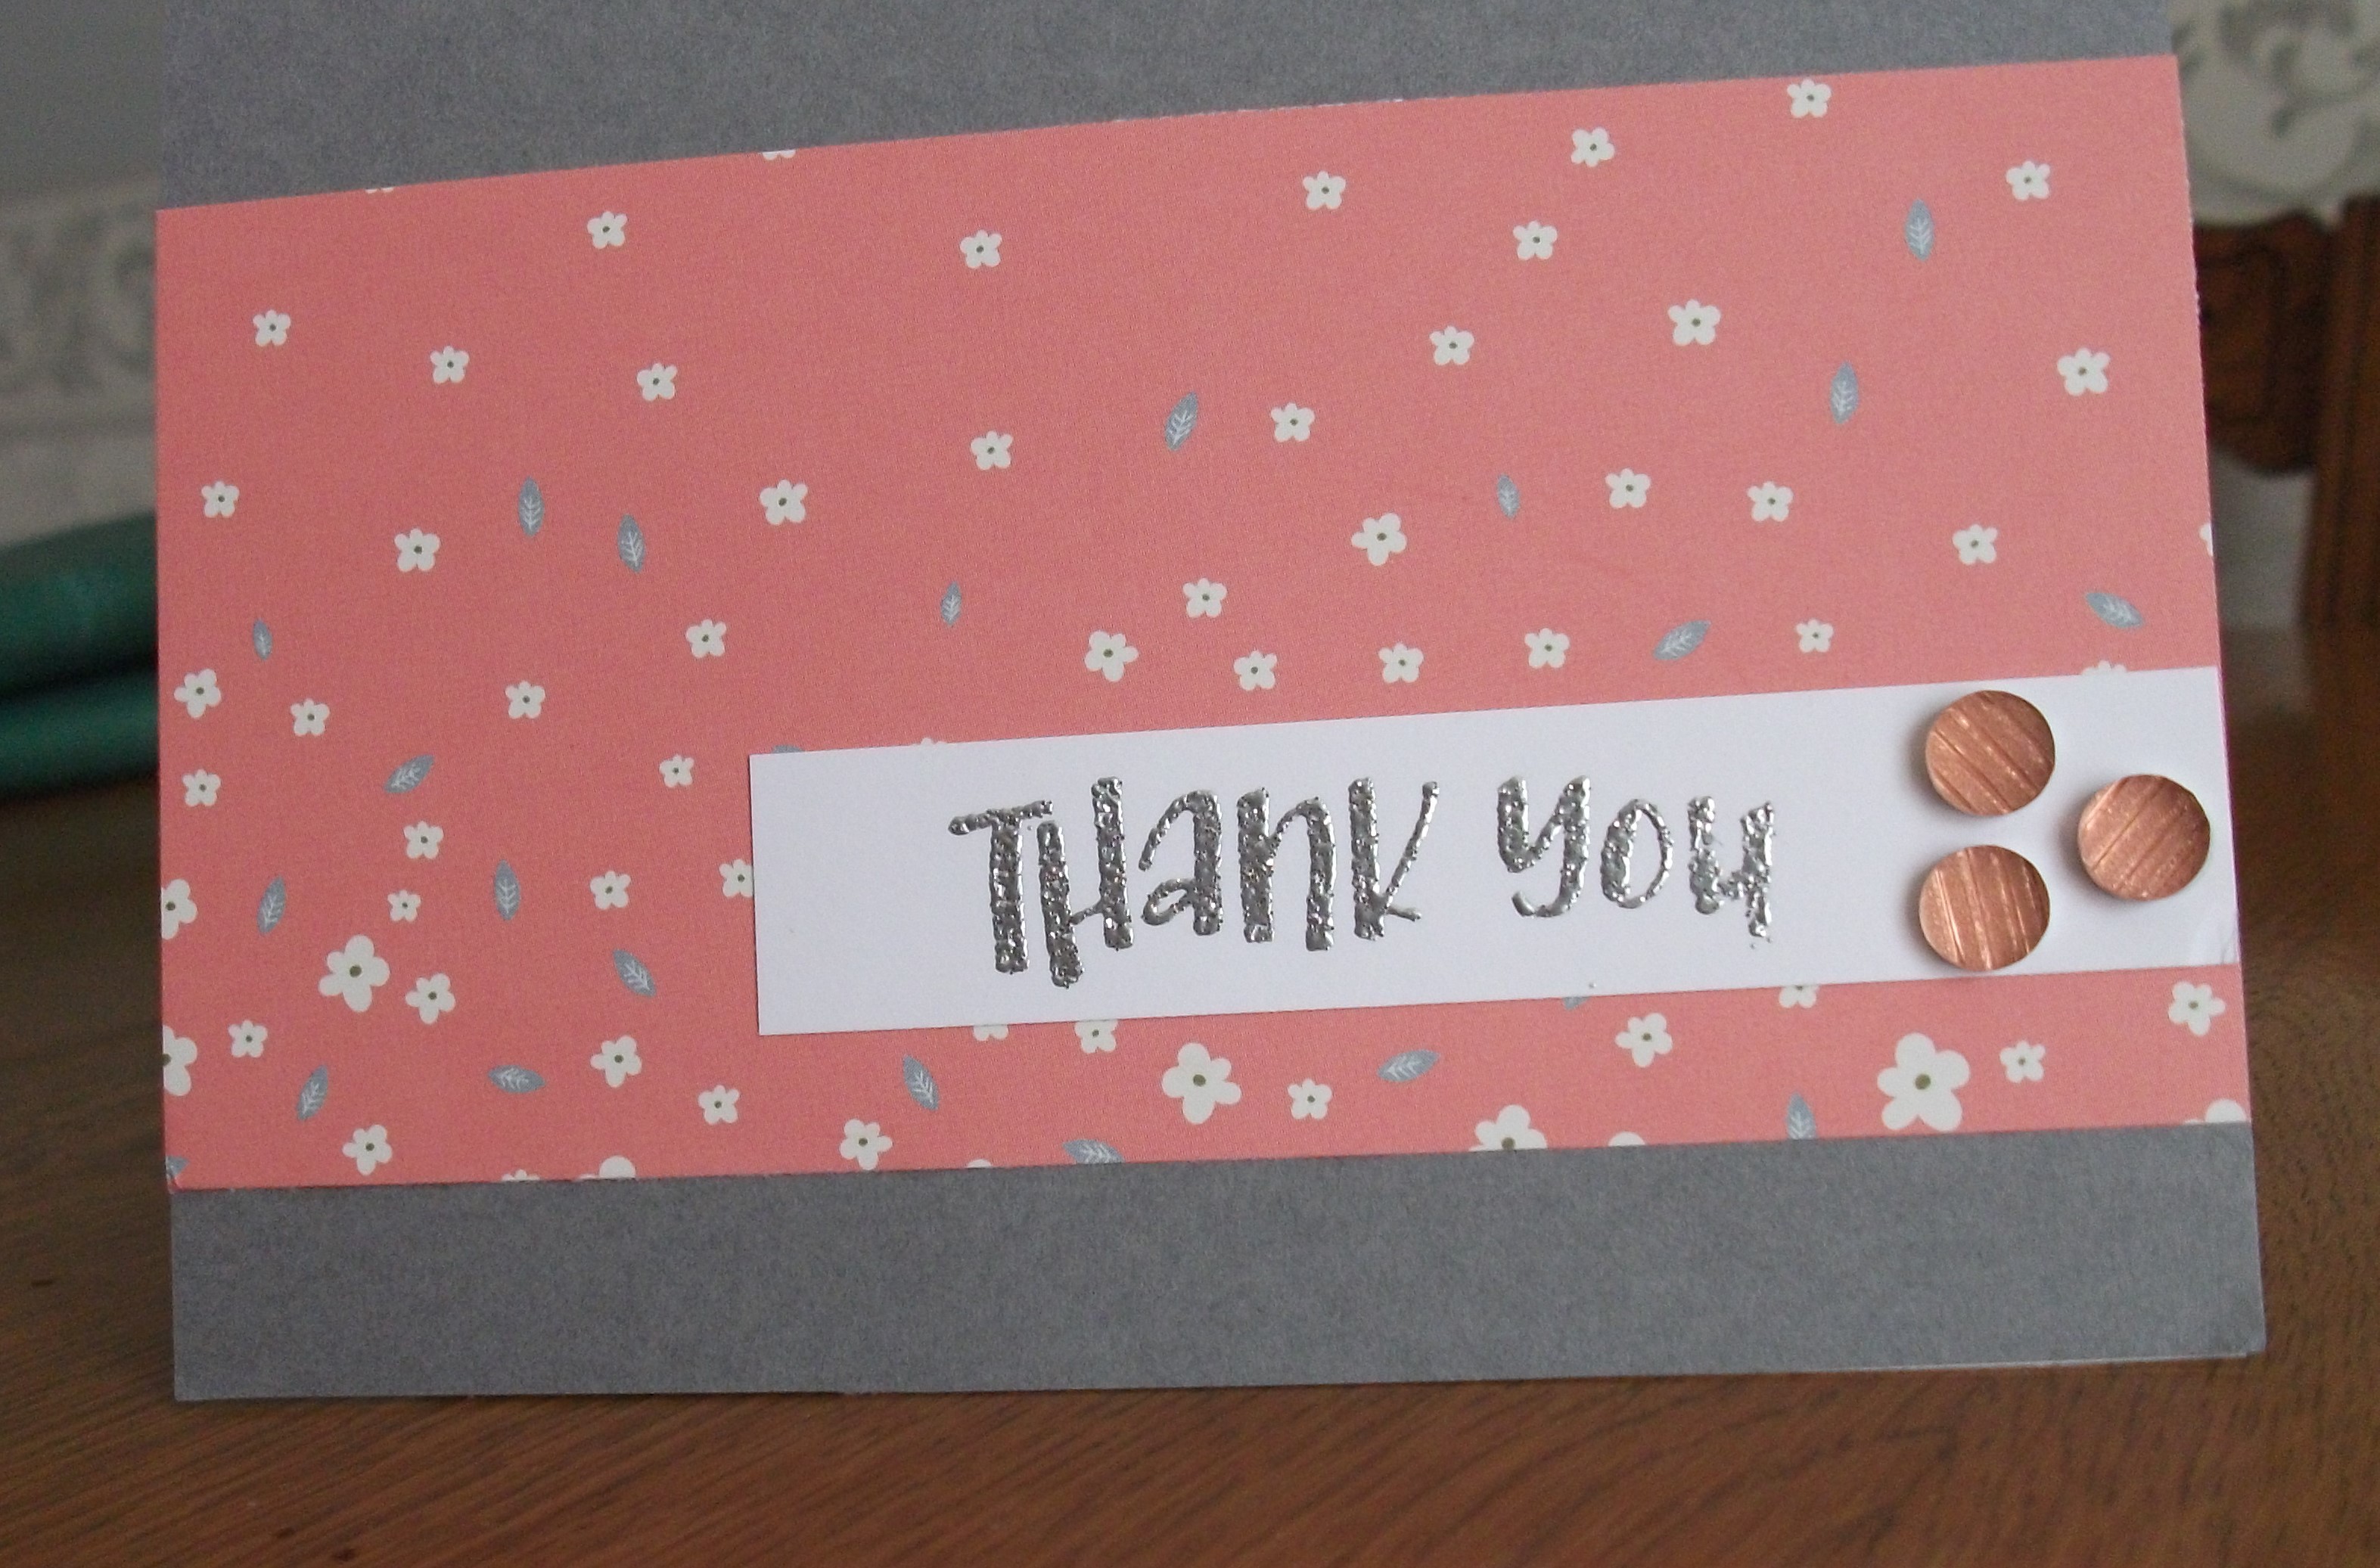
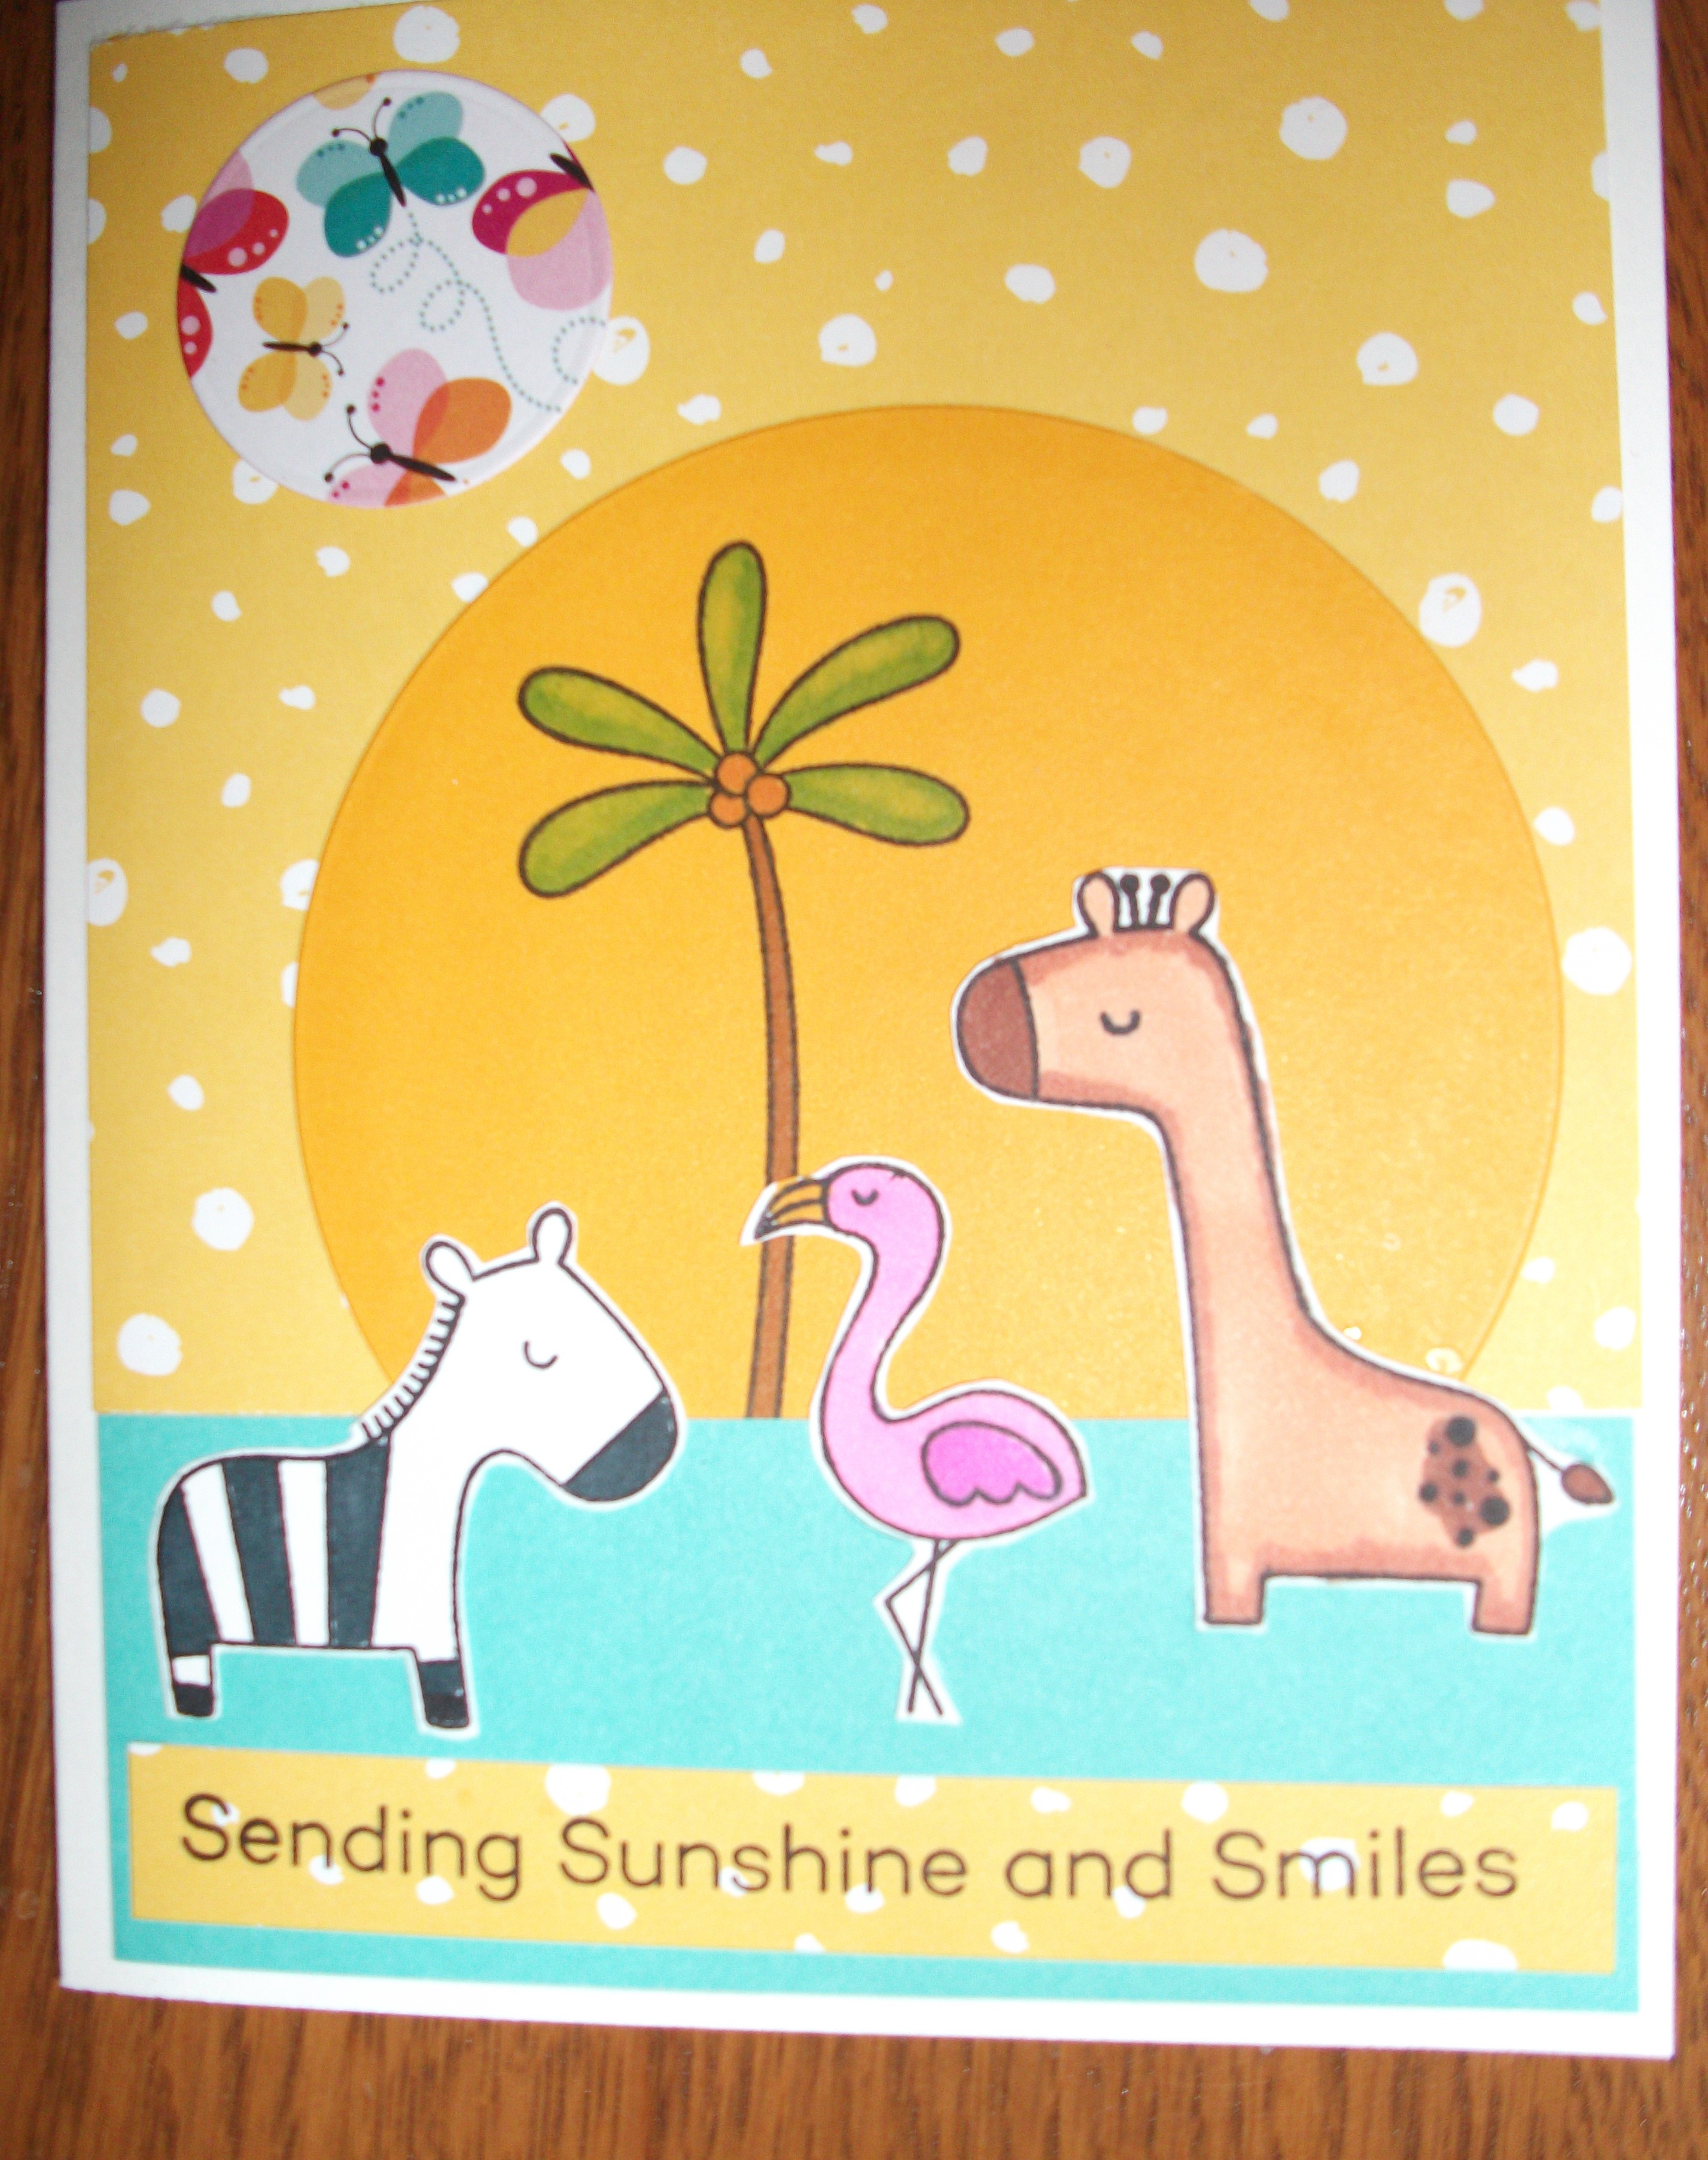
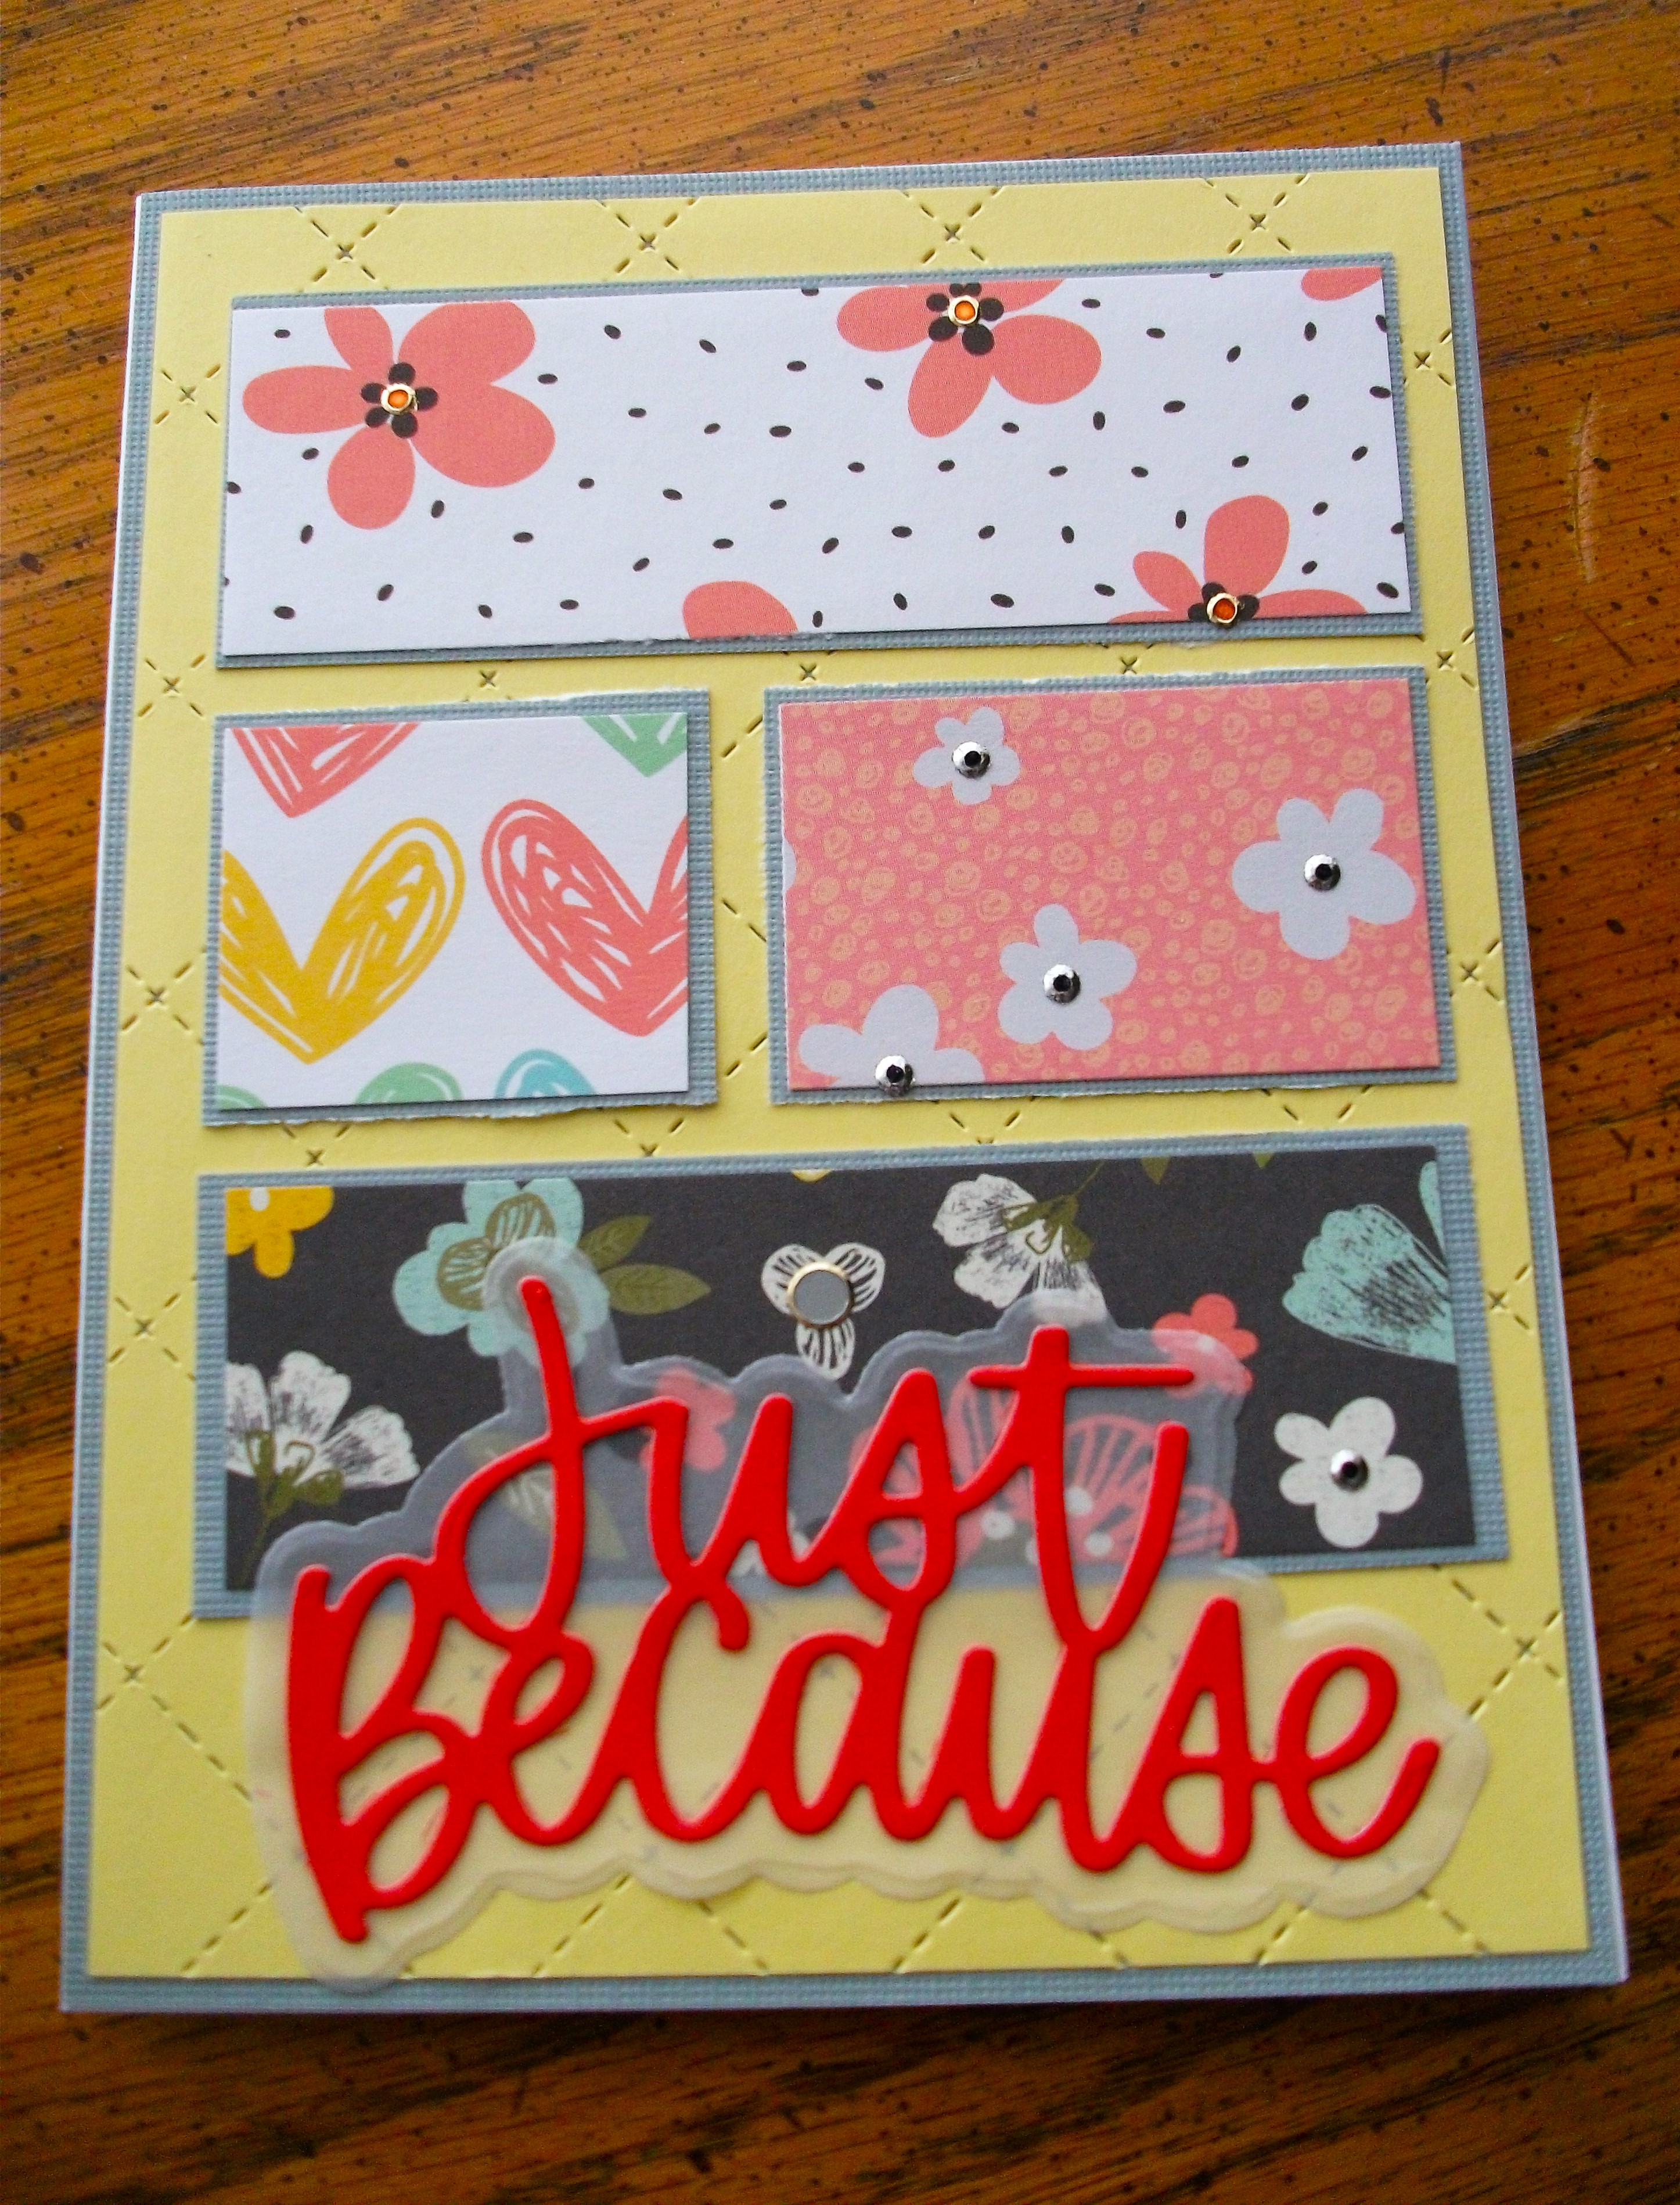
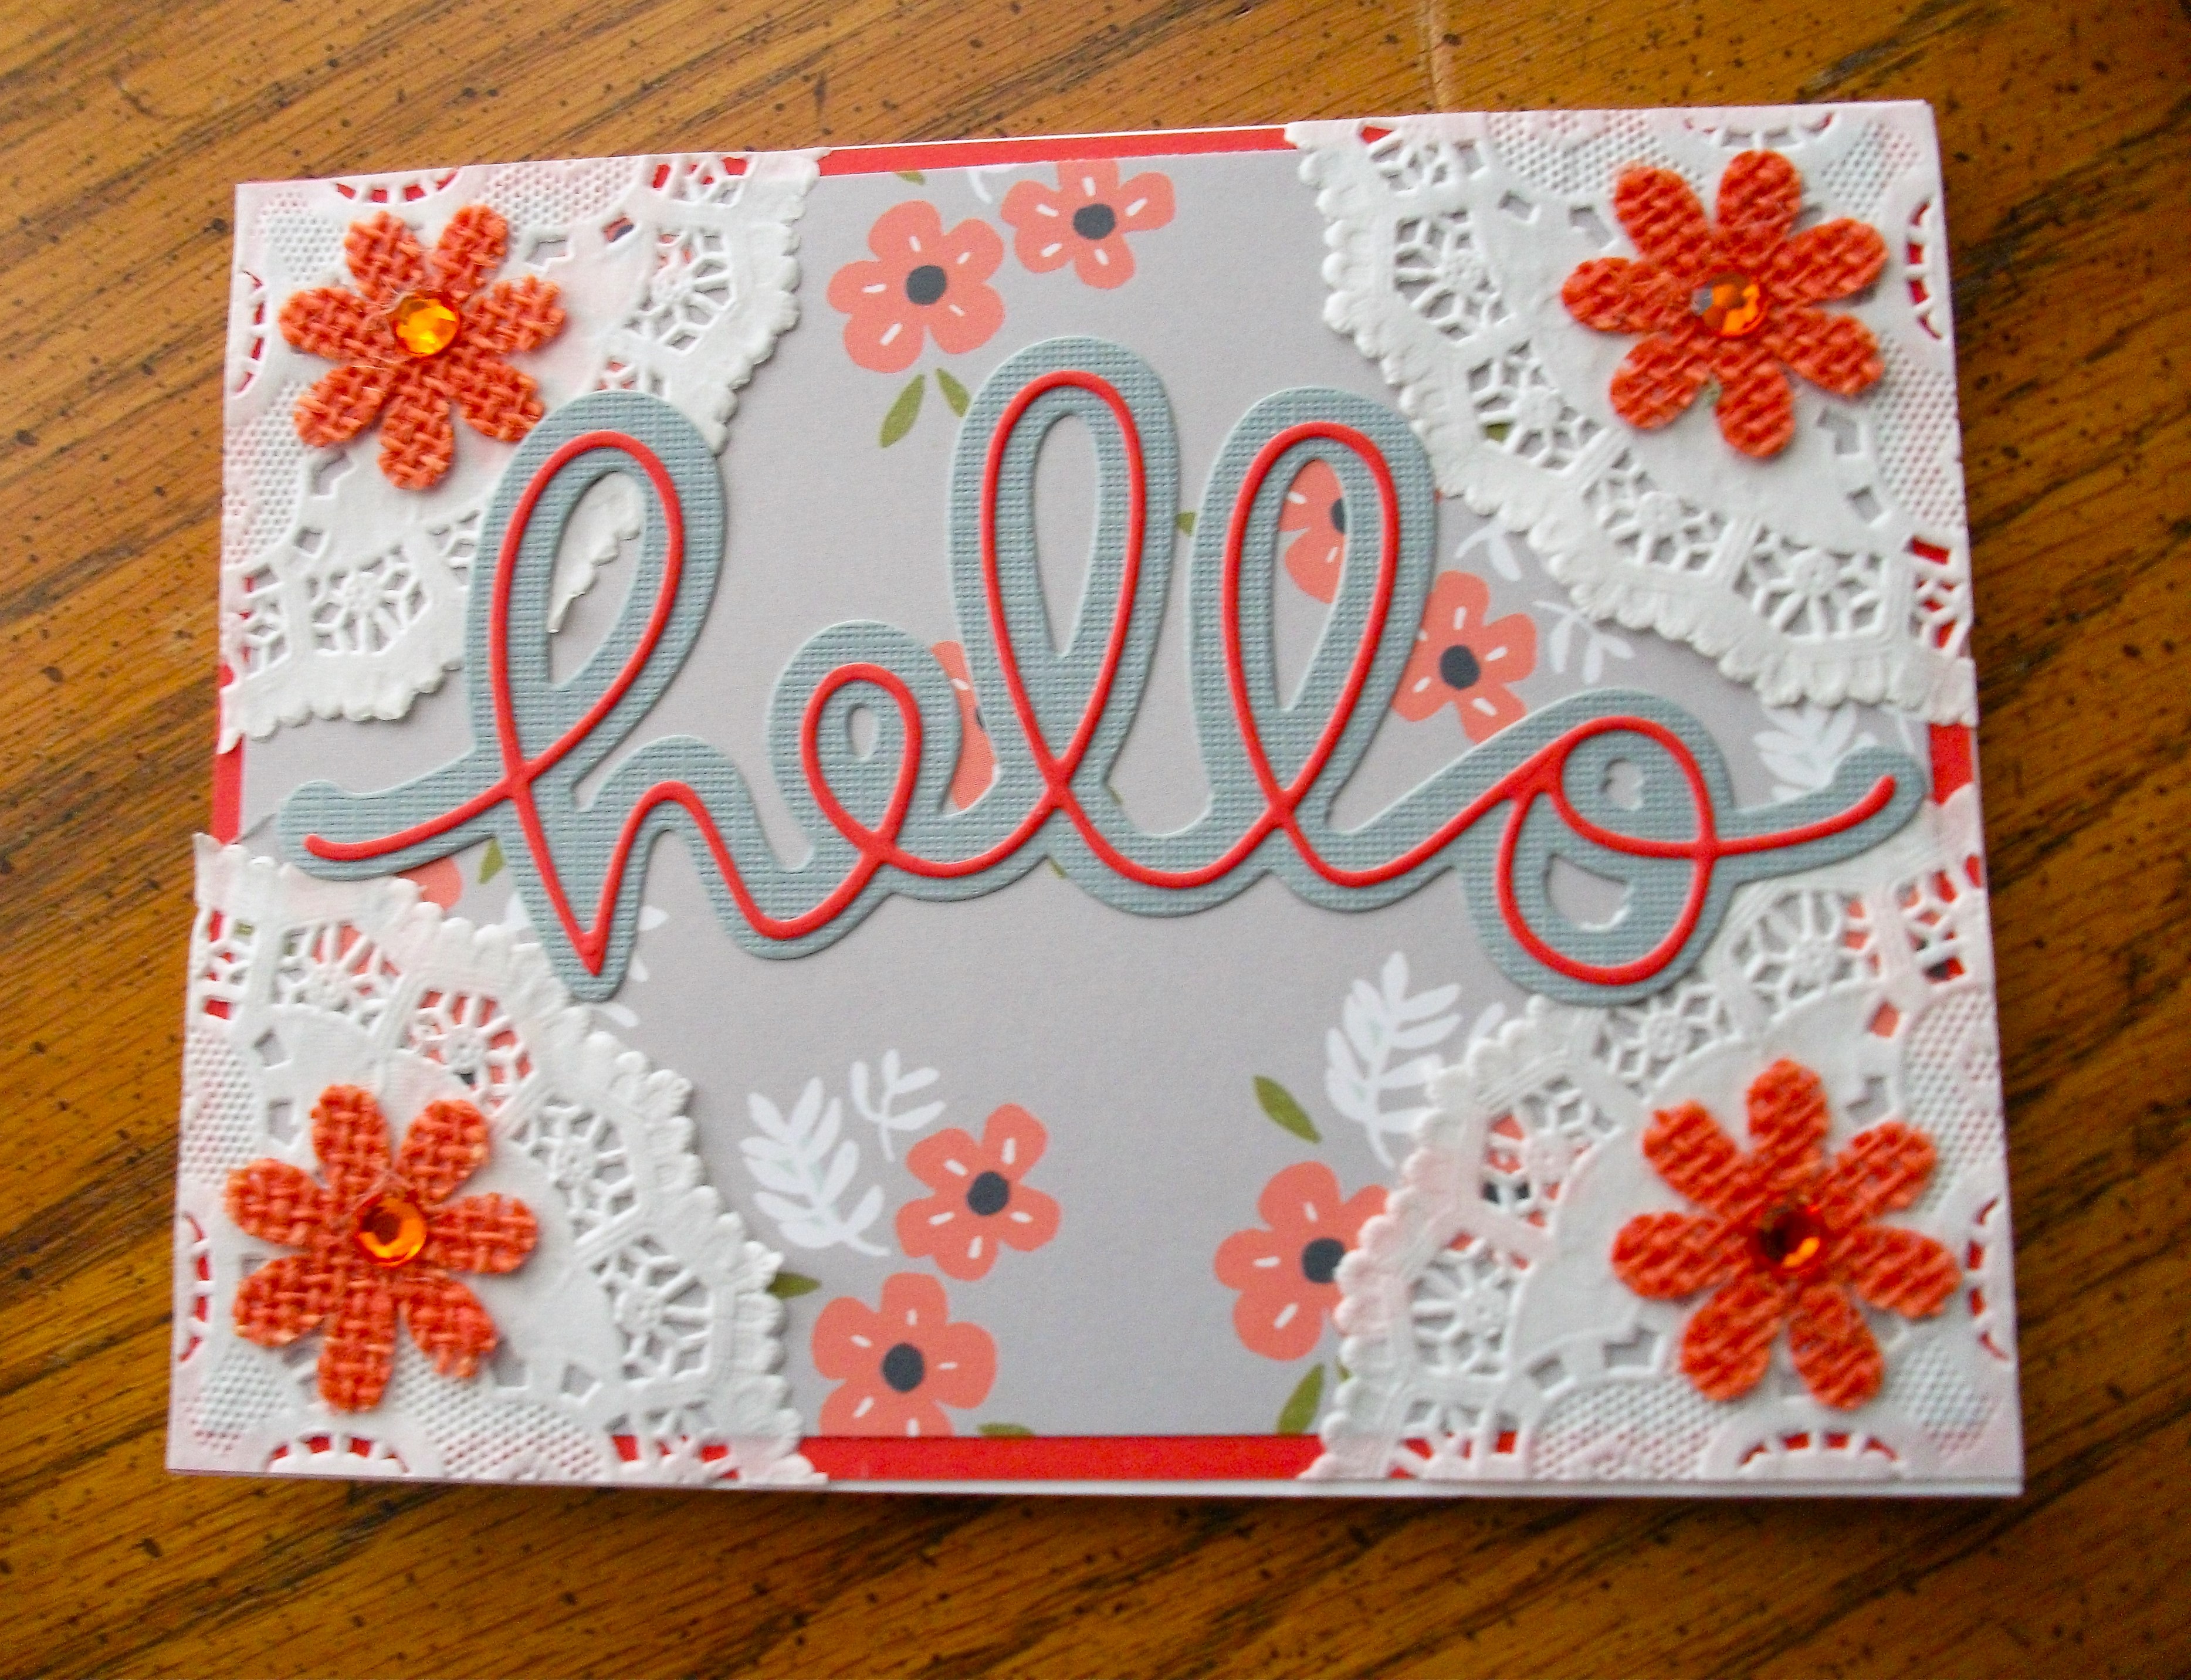
The pad had 24 sheets of two-sided decorated paper, so I had a lot to work with.  I started off using some card designs that used larger pieces of paper, but as I worked, the pieces got smaller and smaller as I used up the larger ones, until I had only small strips and/or blocks left. Low and behold, I ended up using all but a very few very small pieces of the paper ... 30 cards in all!  I shocked myself! I did not know I could get that much creativity out of my fairly small creative brain!  Only one side of one design did I not ever use, otherwise something of every design in the pad got used somehow, someplace, on a card.

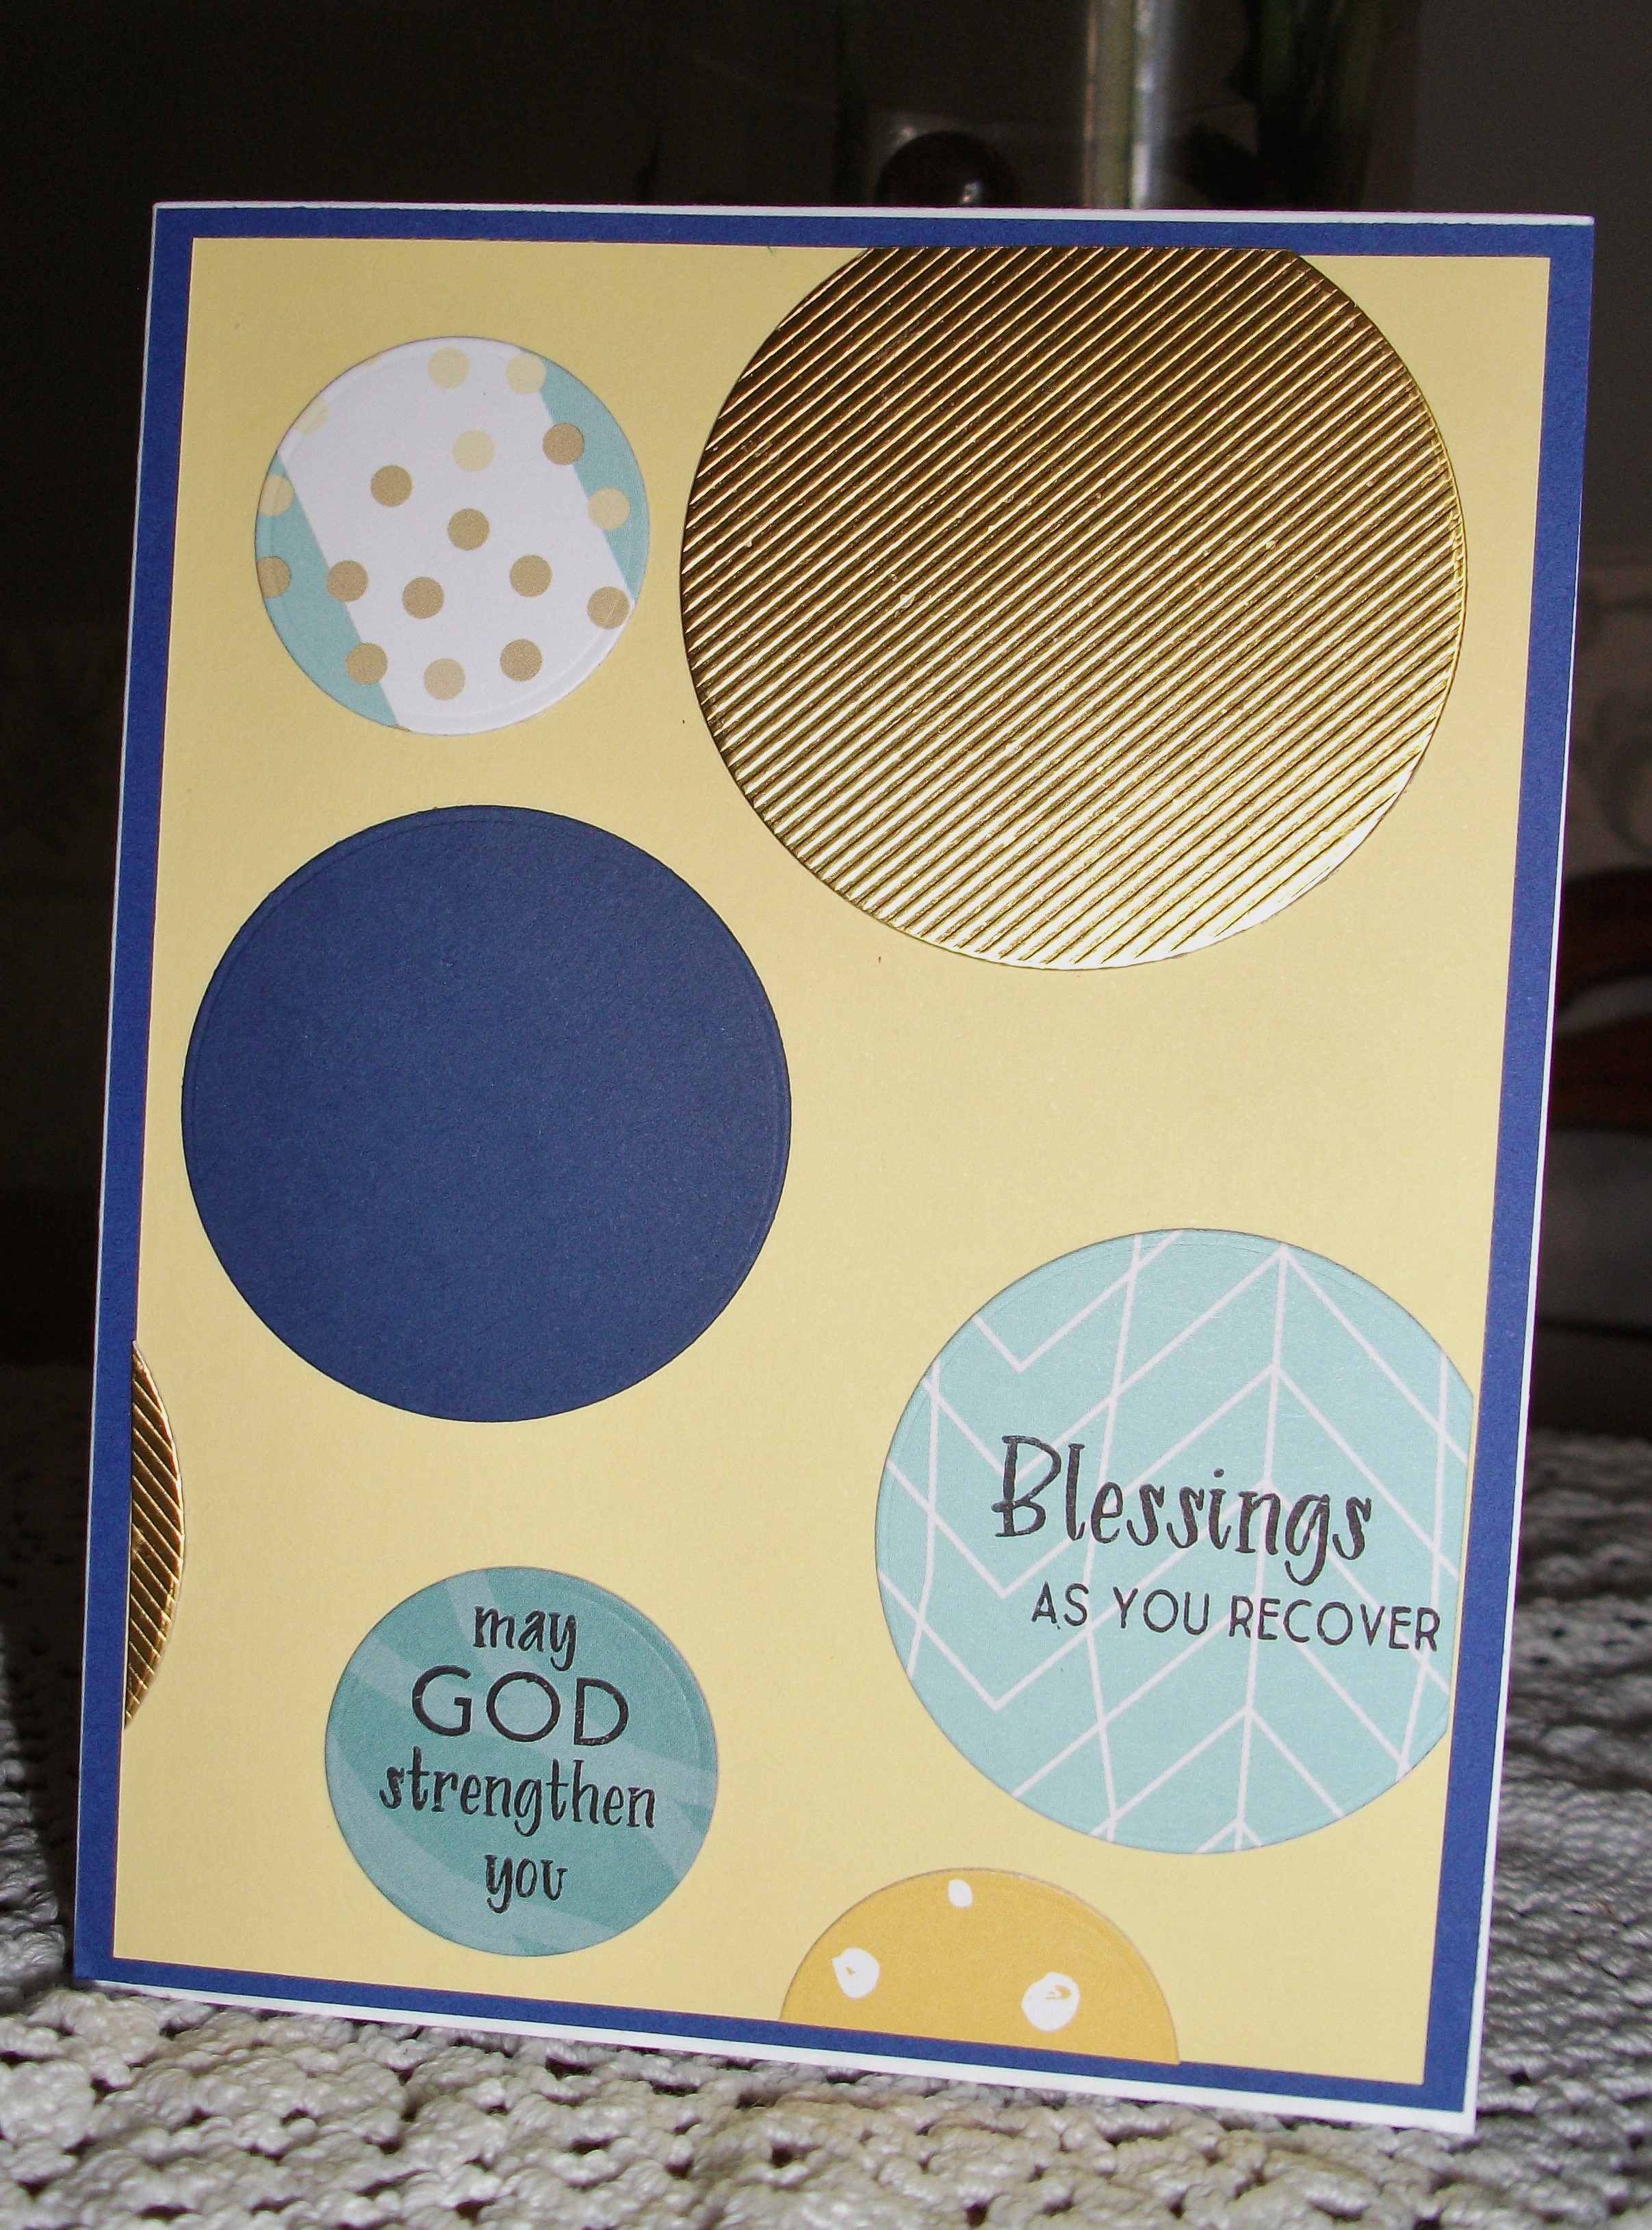
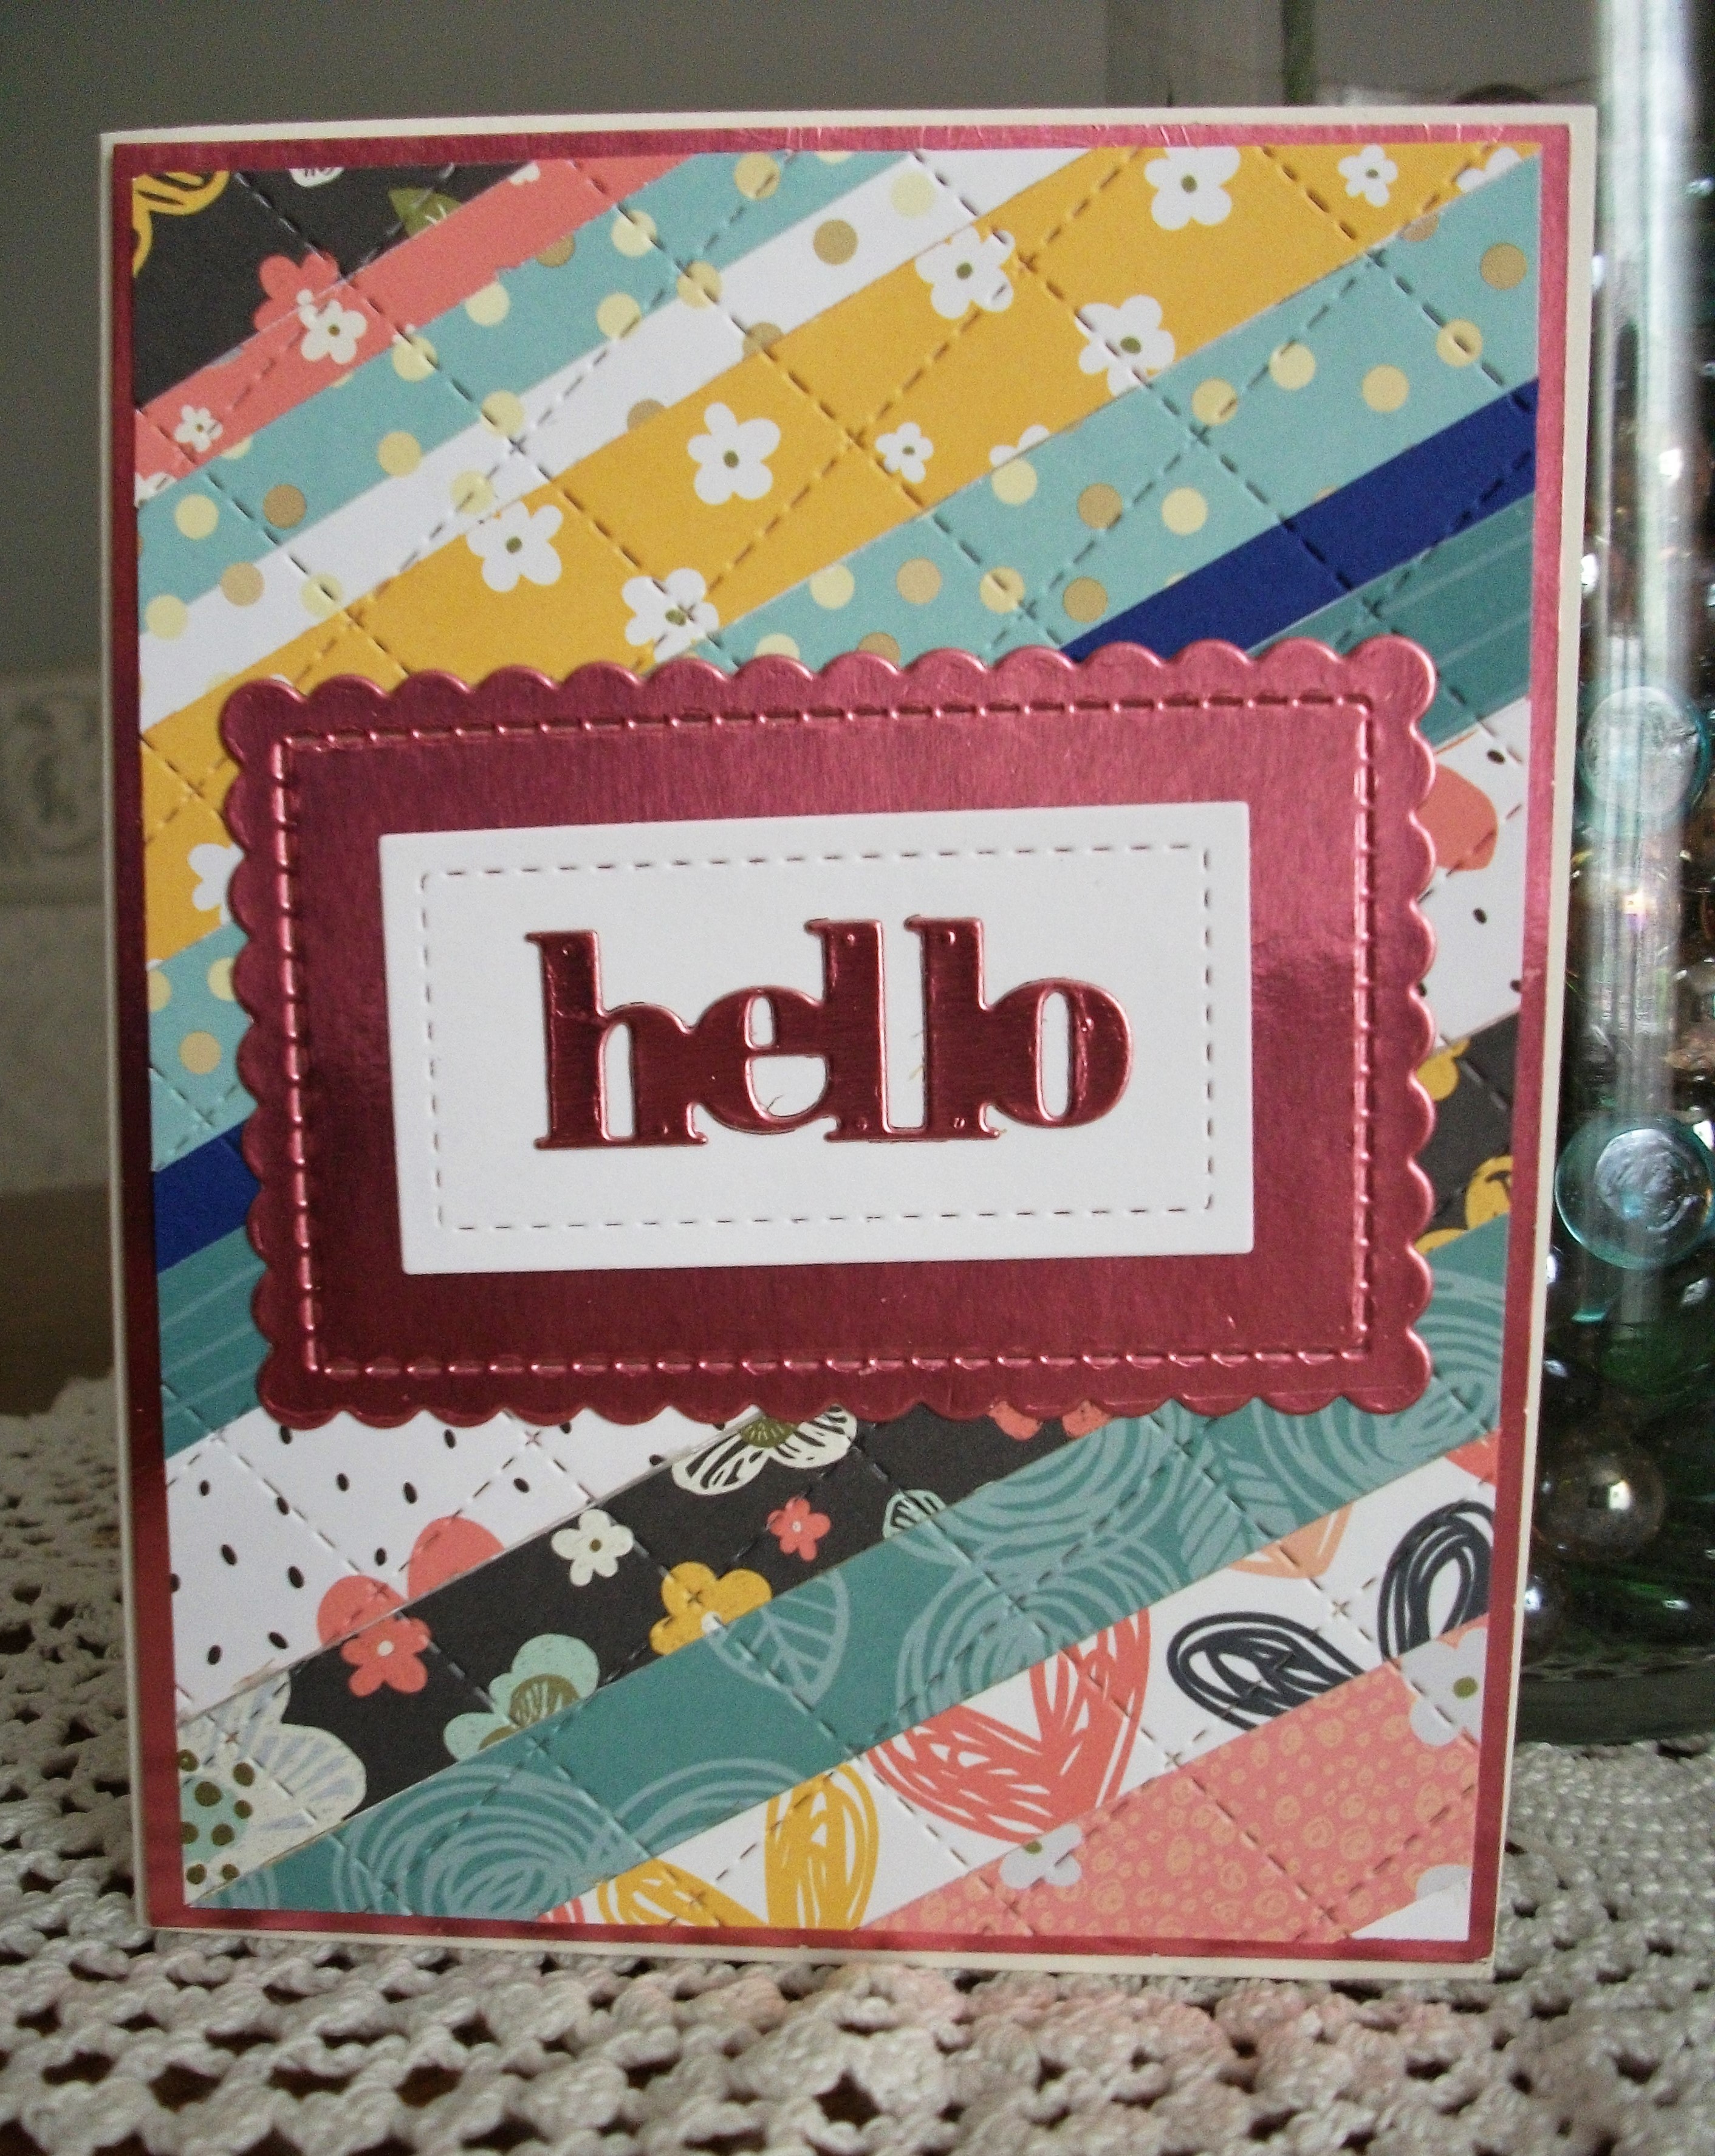
So ... without further adieu, here are my 30 cards. Some have already gone in the mail, others await that day in my card box.


Friday, September 23, 2022

Celebration

 I made this card for a friend who was just declared cancer-free by her doctor.  I and all her friends have been praying for her for three years, so this was a celebration for us as well as for her. 

The sentiment I used is from a stamp set I purchased in 2016 and I thought it suited the circumstances perfectly. 

This card follows the sketch for the current challenge over at Retro Rubber Challenge Blog, so I think I will enter that challenge.  Not only did I use an old stamp for the front of the card, I was able to use a piece of pretty roses paper that I've had for a while and I added the scallop cover die in the background that I have had for several years as well, so I am pretty pleased with the final card design.

Thursday, April 15, 2021

Using pastel colors

 I discovered this week that I tend to use brighter colors on my cards, which surprised me.  I know that sounds silly ... that I could not discern my own tendencies ... but it just had not dawned on me that this was the case until I decided to try to do a card for the current Retro Rubber Challenge Blog.  The current challenge is to make a card using pastels, and here is my entry:

I had some pastel green paper with small white dots that I used for the background.  I wanted something that would look nice along with the pink with pale green dots that served as the background for the Bible verse stamp I used.  The stamp is from 1998 so it certainly qualifies for that challenge!  I also used a stamp inside that says "From my heart to yours".  It is a 2007 stamp.


Rainbow stripe hello

I have made numerous versions of a striped card but I think this is one of my favorites because of the rich dark blue color.  I had lots of strips of card stock and glitter paper and I chose rainbow colors albeit a bit different from the usual shades I think of for a rainbow.  Starting with the speck of red in the upper left corner, if you look closely you can see red, orange, yellow, green, blue, indigo and purple.I die cut the "hello" from the dark blue card stock then layered three layers of clear embossing powder over it.  Although the photo doesn't show it very well, it is glossy and raised and quite striking in real life.  The inside message says "Sending happy thoughts."


Wednesday, April 14, 2021

Playing with stripes

 I am definitely out of my comfort zone when playing with patterned card stock and paper on cards.  I feel my lack of artistic ability keenly when I try to do something unusual (for me), but I threw caution to the winds yesterday afternoon when I had a piece of orange and yellow striped paper and some deep blue card stock.  This is what I came up with:

I actually was surprised at how it looked when I got it all done.  The word "friend" looks like a different color but it actually is the same shade of yellow as the stripes.  For that matter, the colors on the entire card look muted in the photo but that is because I am NOT a good photographer.  The card is much brighter in real life!


Tuesday, April 13, 2021

Shadow box


 I follow Jennifer McGuire and her excellent card-making skill videos almost religiously because she has such great ideas and is so good at teaching the skill in each episode.  This week she had a video about making simple shadow box cards so I tried my hand at it.  Here is what I came up with:

The little bee is attached to a piece of acetate and is glued to the edge of the card so he is "floating" around the little flowers in the background.   Thank you, Honey Bee Stamps for the sentiment and the cute little bee!  The leaves and flowers are from stamps and dies from Hot Off the Press.

The card lays flat in an envelope but stands up easily when taken out.  There is a narrow edge on each side that pulls outward to open the card.  You can just see the edges on each side of the card.

This is definitely not the last shadow box card I'll make!

Monday, April 12, 2021

Rainbow anniversary

 I have really enjoyed following the Alphabet Challenge Blog over recent months but have been putting off entering a card until they got back to the "A's" again and that is this week.  I've been wanting to make a casual style anniversary card for a young couple as well as make another rainbow-style card, so I combined the two with this result:

I stamped the "happy" in several colors and to make it more casual, I added the "anniversary" in rather casual style on the side.


Wavy thoughts


 When I saw the sketch for the week on Freshly Made Sketches I knew I wanted this "excuse" to play with my new wavy dies once again. Here is the sketch: 


  I had some glitter card stock strips I'd saved and they mad the perfect backdrop for the opening between the two sides of my card cover, which I put on the front of the card with foam adhesive.  I cut the "you" from some light green metallic card stock and completed the rest of the sentiment with gold heat embossing on black.  The front is a very pale green, almost cream color although it does not show up as well as I would like, due to my own inability in photography!


Wednesday, August 12, 2020

Sympathy card

 I needed to make a sympathy card yesterday and turned to one of my favorite dies as the anchor for the card.  This simple spray of flowers is so easy to make into any kind of card and I have used it numerous times for everything from get well to birthday, and now for a sympathy card.

I used a green fern paper for the background because the one who passed was a man and I wanted to reflect a masculine "aura" on the card even though I was using flowers.  I cut the flower die out of dark brown suede paper and it turned out so beautifully against the cream colored card stock that I edged with some bamboo green ink and a little brown.  


Tuesday, August 4, 2020

Happy, Happy, Happy

I really like the newest stamp and die set that I ordered online not long ago.  It is called Happy Days from CZ Design although I purchased it through my current favorite supplier, Simon Says Stamp.  I tried an idea I found on a blog using this stamp set and am very pleased with the results.  I needed to make a couple of birthday cards and this set was perfect. 

See what I mean?  I hunted down shades of card stock that I had that would work together.  I had only four shades of the right kinds of purple so there are only the four steps of "happy" on that card, but I had five shades of yellow and orange so it has one extra panel.  All I had to do was emboss the word in white and cut the panels so the words would follow the right alignment, then glue them onto another piece of card stock, which I then popped up on the card front with foam tape.  The little "birthday" is also embossed in white and attached with foam tape.  A couple of sequins and a stripe of metallic edging later and the card was done.  Simple, but I think quite effective.

Friday, June 5, 2020

Washi tape catch-up

I have had a lot of washi tape in my stash for a couple of years now and use it occasionally, but I know that glue-backed things do not last forever.  The glue loses it's sticking ability eventually and I would hate to see that happen to the fun tape in my box, so last week I decided to make washi tape cards for two days straight. It was a profitable exercise and since I still have LOTS of that tape left, I may repeat that effort again in a couple of weeks.

I love how the colors and designs always seem to work together, no matter what I try!  Here's what I mean:

I had made a couple of these styles before and when I looked through my pictures I found a couple of samples.  One I made almost exactly like the one pictured here.

Here's another example from before and it's current counterpart:

One of my favorites, which I am definitely going to repeat but use different tapes is this one that is not the best photo, but I like the looks of the white banner across the front:
My other most favorite of all of them is the square card with the bow tie tape: